Source Code Installation
Installation Flowchart
1. System Environment Installation
Before starting ThingsPanel, please ensure the following environments are installed:
1. Go 1.22.x
After installation, you may need to configure a proxy if you are in China.
go env -w GO111MODULE=on;go env -w GOPROXY=https://goproxy.cn
2. Docker
We use Docker to simplify database installation. Install Docker Community Edition
3. Redis 6
Supports higher versions and traditional deployment. Installation Guide
Docker deployment method:
Option 1: Official Image (International Network)
mkdir -p /home/tp/backend/redis/{data,conf,logs}
docker run --name tp-redis -d \
  --restart always \
  -p 6379:6379 \
  -v /home/tp/backend/redis/data:/data \
  -v /home/tp/backend/redis/conf:/usr/local/etc/redis \
  -v /home/tp/backend/redis/logs:/logs \
  redis redis-server --requirepass redis
Option 2: Domestic Mirror (Recommended for China)
mkdir -p /home/tp/backend/redis/{data,conf,logs}
docker run --name tp-redis -d \
  --restart always \
  -p 6379:6379 \
  -v /home/tp/backend/redis/data:/data \
  -v /home/tp/backend/redis/conf:/usr/local/etc/redis \
  -v /home/tp/backend/redis/logs:/logs \
  registry.cn-hangzhou.aliyuncs.com/thingspanel/redis:6.2.7 redis-server --requirepass redis
Choose one of the above commands based on your network environment.
4. TimescaleDB 14
Supports higher versions and traditional deployment. Installation Guide
Option 1: Official Image (International Network)
mkdir -p /home/tp/data/dir
docker run --name timescaledb -d \
  --restart always \
  -p 5432:5432 \
  -e TZ=Asia/Shanghai \
  -e POSTGRES_DB=ThingsPanel \
  -e POSTGRES_USER=postgres \
  -e POSTGRES_PASSWORD=postgresThingsPanel \
  -v /home/tp/data/dir:/var/lib/postgresql/data \
  timescale/timescaledb:latest-pg14
Option 2: Domestic Mirror (Recommended for China)
mkdir -p /home/tp/data/dir
docker run --name timescaledb -d \
  --restart always \
  -p 5432:5432 \
  -e TZ=Asia/Shanghai \
  -e POSTGRES_DB=ThingsPanel \
  -e POSTGRES_USER=postgres \
  -e POSTGRES_PASSWORD=postgresThingsPanel \
  -v /home/tp/data/dir:/var/lib/postgresql/data \
  registry.cn-hangzhou.aliyuncs.com/thingspanel/timescaledb:14
Choose one of the above commands based on your network environment.
Configuration Details
- Database Name: ThingsPanel
- Username: postgres
- Password: postgresThingsPanel
- Port: 5432
Note: If you modify the database configuration, please update the backend configuration file (
./configs/conf.yml) correspondingly.
2. GMQTT Installation
GMQTT is the service for device message access. Device messages enter the platform via GMQTT, and the platform sends messages to devices via GMQTT.
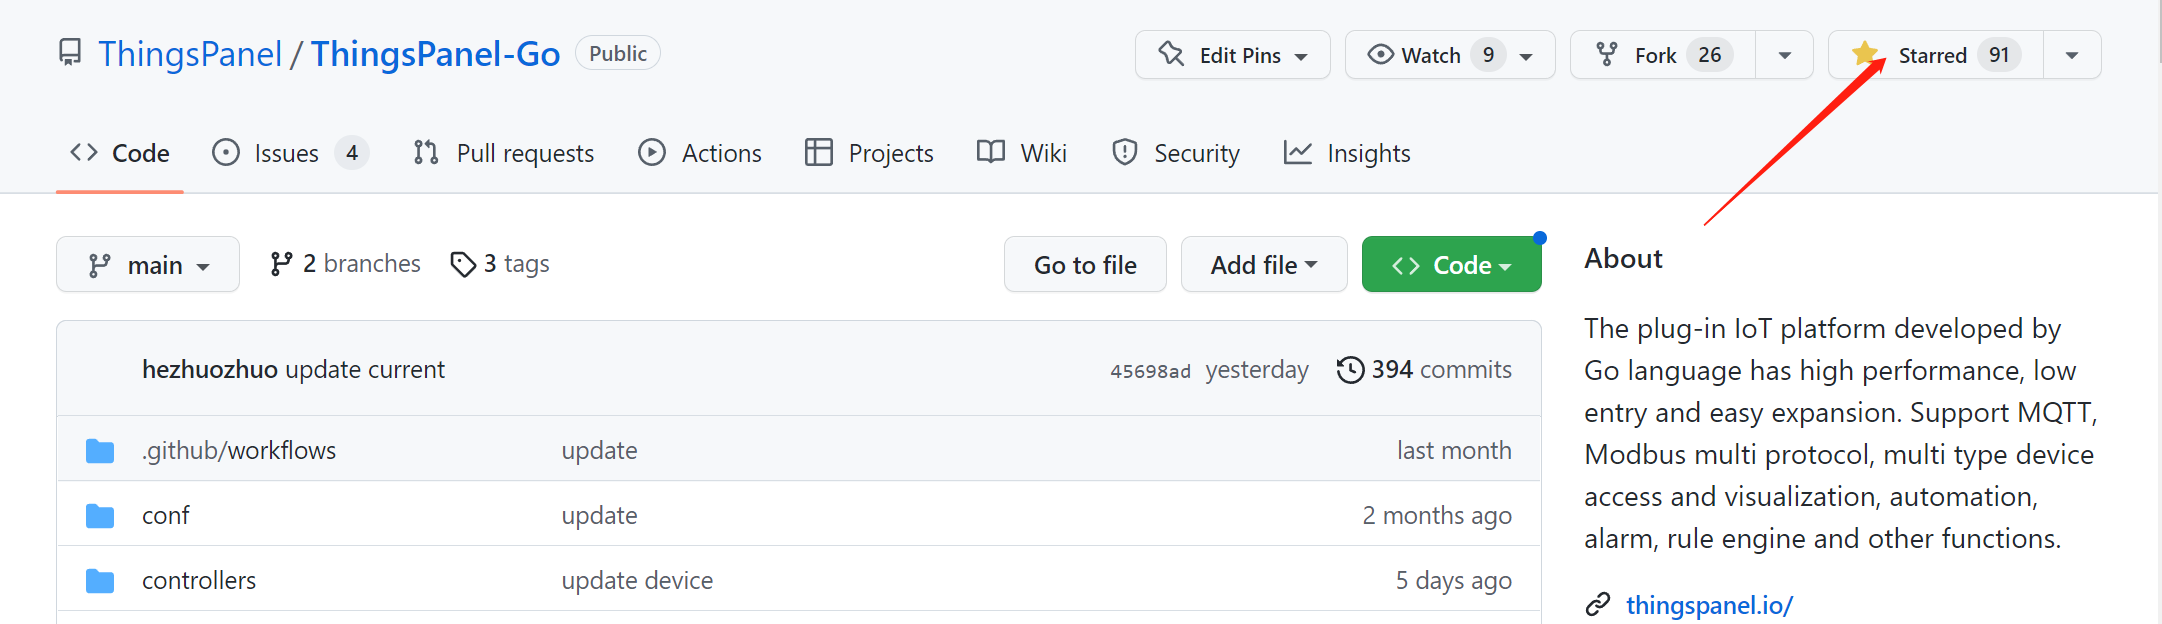
- Go to GMQTT Repository
- Star the repository.
- Download the source code. It is recommended to use
git clone. (If git is not installed, download the zip package). Note the branch:mainis the latest development branch. Check Tags for other versions.
Configuration Files
./thingspanel-gmqtt/cmd/gmqttd/default_config.yml        -- System Configuration
./thingspanel-gmqtt/cmd/gmqttd/thingspanel.yml           -- ThingsPanel Plugin Configuration
default_config.yml explanation:
log:
  level: info # Log level: debug | info | warn | error
thingspanel.yml explanation:
db:
  redis:
    # Redis connection string
    conn: 127.0.0.1:6379
    # Redis database number
    db_num: 1
    # Redis password
    password: "redis"
  psql:
    psqladdr: "127.0.0.1"
    psqlport: 5432
    psqldb: ThingsPanel
    psqluser: postgres
    psqlpass: postgresThingsPanel
mqtt:
  # Password for root user
  broker: localhost:1883
  password: "root"
  plugin_password: "plugin"
Run Service (Recommended)
Three methods are available:
Direct Run
$ git clone https://github.com/ThingsPanel/thingspanel-gmqtt.git
$ cd thingspanel-gmqtt/cmd/gmqttd
$ go run . start -c default_config.yml
Managed by PM2 (Recommended)
We recommend using PM2 to manage the service. (PM2 requires Node.js. Installation is simple, please search online if needed).
git clone https://github.com/ThingsPanel/thingspanel-gmqtt.gitcd thingspanel-gmqtt/cmd/gmqttd, creategmqtt.shin this directory.- Write
go run . start -c default_config.ymlintogmqtt.sh. chmod 777 gmqtt.shpm2 start gmqtt.shto start GMQTT. (Afterpm2 save, the process state will be saved and automatically restored after system reboot).
Run via Docker
$ git clone https://github.com/ThingsPanel/thingspanel-gmqtt.git
$ cd thingspanel-gmqtt
$ docker build -t gmqtt .
$ docker run -p 1883:1883 -p 8883:8883 -p 8082:8082 -p 8083:8083  -p 8084:8084  gmqtt
3. ThingsPanel-Backend-Community Installation
The platform uses a separated frontend-backend architecture. ThingsPanel-Backend-Community provides API services for the frontend and device onboarding services. It needs to connect to GMQTT and the database (ensure ./configs/conf.yml matches the database username/password set during installation).
- Go to ThingsPanel-Backend-Community Repository
- Star the repository.
- Download source code (
git clonerecommended).mainis the latest development branch.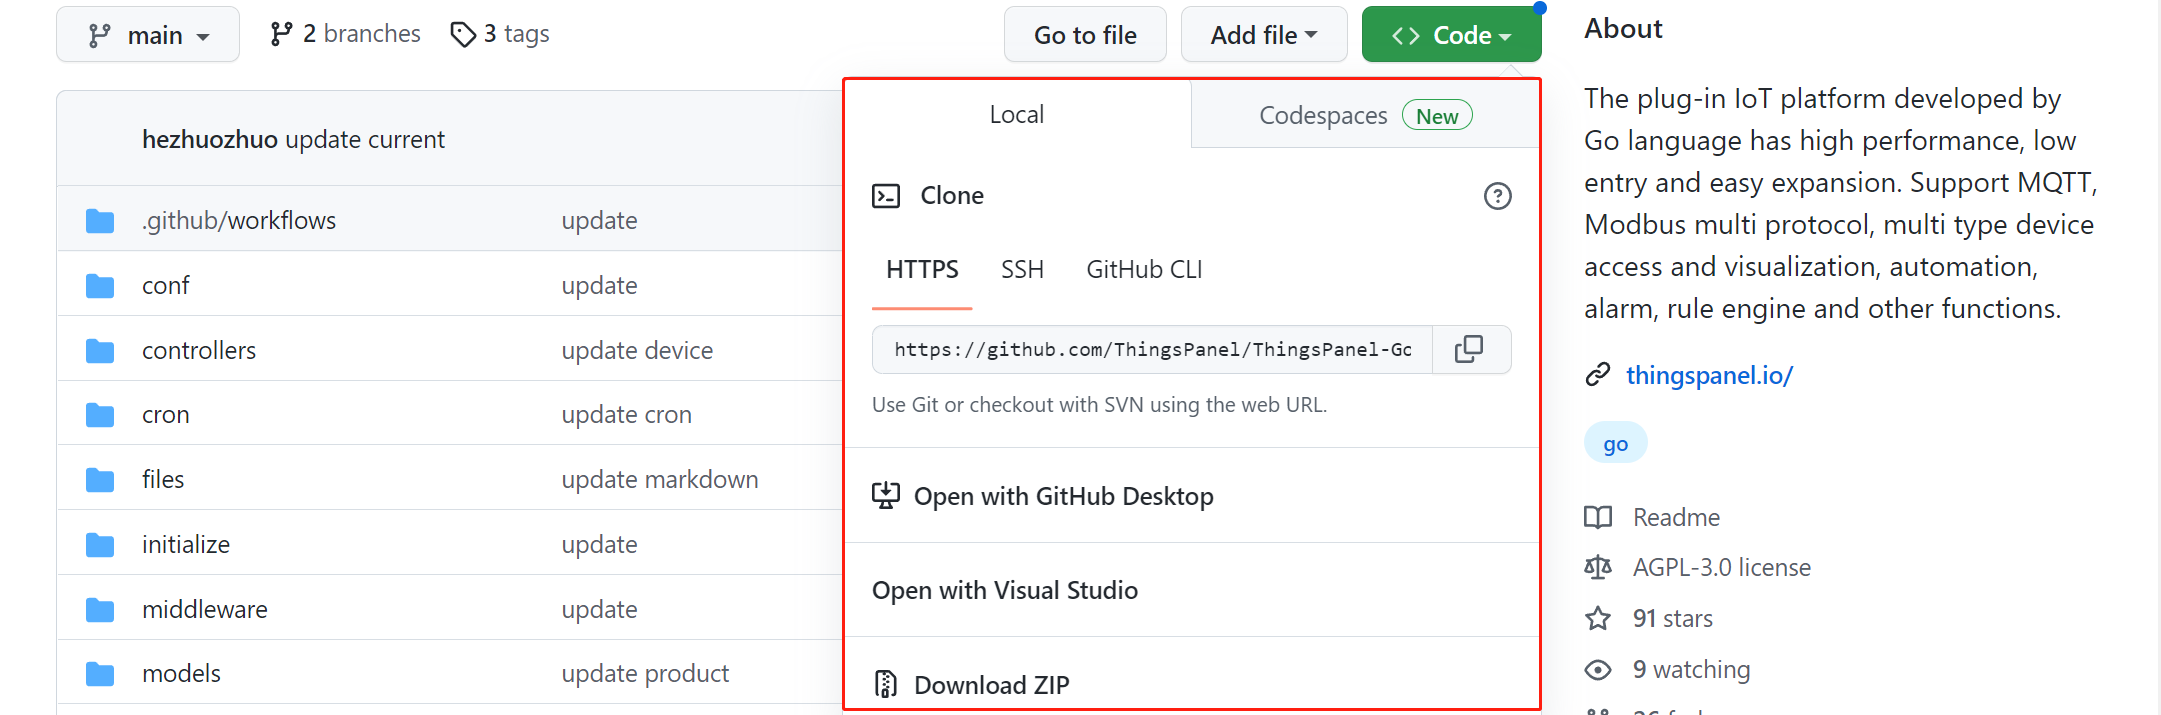
Directory Structure
./configs/conf.yml                  -- System Configuration
./files/logs/                       -- Log Directory
./sql/                              -- Database Initialization Scripts (Auto-executed on startup)
./configs/conf.ymlConfiguration Explanation
# To set configuration via environment variables, use GOTP_ prefix, e.g., GOTP_DB_PSQL_DBTYPE for db.psql.dbType

service:
  http:
    host: 0.0.0.0 # Default localhost
    port: # Default 9999

log:
  # 0-Console 1-File 2-File and Console
  adapter_type: 0
  # Max days to keep log files
  maxdays: 7
  # Log level (panic fatal error warn info debug trace)
  level: debug # Default info
  # Max lines per file
  maxlines: 10000

jwt:
  key: 1hj5b0sp9

db:
  psql:
    host: 127.0.0.1 # Default localhost
    port: 5432 # Default 5432
    dbname: ThingsPanel # Database Name
    username: postgres # Database Username
    password: postgresThingsPanel # Database Password
    time_zone: Asia/Shanghai # Default Asia/Shanghai

    idle_conns: 5 # Max idle connections, suggest 5-20% of open_conns
    open_conns: 50 # Max open connections (TimescaleDB defaults to 100, set to 50 for sharing with other services)
    # SQL Log Level (1-Silent 2-Error 3-Warn 4-Info)
    log_level: 4 # Default 1
    # Slow SQL Threshold (ms). Logged if sqlloglevel >= 3.
    slow_threshold: 200 # Default 200ms

  redis:
    addr: 127.0.0.1:6379 # Default localhost:6379
    db: 1 # Default 0
    password: "redis"

grpc:
  tptodb_server: 127.0.0.1:50052
  tptodb_type: NONE

# MQTT Server: gmqtt, vernemq
mqtt_server: gmqtt

mqtt:
  access_address: 47.92.253.145:1883
  broker: 127.0.0.1:1883 # Default localhost:1883
  user: root # Default root
  pass: root # Default root
  channel_buffer_size: 10000 # Default 10000
  write_workers: 1 # DB write threads, default 10
  # QoS: 0-At most once, 1-At least once, 2-Exactly once

  telemetry: # Telemetry
    # devices/telemetry/control/{device_number}
    publish_topic: devices/telemetry/control/  # Platform publishes telemetry control
    subscribe_topic: devices/telemetry   # Platform subscribes to telemetry
    gateway_subscribe_topic: gateway/telemetry # Platform subscribes to gateway telemetry
    gateway_publish_topic: gateway/telemetry/control/%s  # Platform publishes gateway telemetry control
    pool_size: 10 # Thread pool, default 100
    batch_size: 100 # Default 100, max batch write
    qos: 0
  attributes: # Attributes
    subscribe_topic: devices/attributes/+
    publish_response_topic: devices/attributes/response/
    publish_topic: devices/attributes/set/
    subscribe_response_topic: devices/attributes/set/response/+
    publish_get_topic: devices/attributes/get/

    gateway_subscribe_topic: gateway/attributes/+
    gateway_publish_response_topic: gateway/attributes/response/%s/%s
    gateway_publish_topic: gateway/attributes/set/%s/%s
    gateway_subscribe_response_topic: gateway/attributes/set/response/+
    gateway_publish_get_topic: gateway/attributes/get/%s
    qos: 1
  commands: # Commands
    publish_topic: devices/command/
    subscribe_topic: devices/command/response/+
    gateway_subscribe_topic: gateway/command/response/+
    gateway_publish_topic: gateway/command/%s/%s
    qos: 1
  events: # Events
    subscribe_topic: devices/event/+
    publish_topic: devices/event/response/
    gateway_subscribe_topic: gateway/event/+
    gateway_publish_topic: gateway/event/response/%s/%s
    qos: 1
  ota: # OTA
    publish_topic: ota/devices/infrom/
    subscribe_topic: ota/devices/progress
    qos: 1

mqtts:
  broker: 127.0.0.1:8883
  user: root
  pass: root
  caPath : ./conf/certificate/ca.crt
  crtPath: ./conf/certificate/client.crt
  keyPath : ./conf/certificate/client.key

automation_task_confg:
  once_task_limit: 100
  periodic_task_limit: 100

ota:
  # OTA package download address pushed to devices
  download_address: http://demo.thingspanel.cn
Run
Start GMQTT, Redis, TimescaleDB first, then start thingspanel-backend-community:
$ git clone https://github.com/ThingsPanel/thingspanel-backend-community.git
$ cd thingspanel-backend-community
$ go run .
4. ThingsPanel-Frontend-Community Installation & Build
Download Latest Dist Package (Easiest)
Go to ThingsPanel-Frontend-Community Releases, download the dist zip with the latest tag.
Install Node.js 20.11.0 (For building from source)
- Click the link above.
- Find
v20.11.0and downloadnode-v20.11.0-linux-x64.tar.xz.
wget https://nodejs.org/download/release/v20.11.0/node-v20.11.0-linux-x64.tar.xz
- Follow Node.js Installation Guide.
Build Frontend from Source
- Download Source Code
git clone https://github.com/ThingsPanel/thingspanel-frontend-community.git
- Install Dependencies
npm install -g pnpm
pnpm install
Note: If you encounter npm ERR! Unsupported URL Type "workspace:", it's because you used npm install. Use pnpm instead.
- Build Dist
pnpm build
5. Optional: Install Modbus Protocol Plugin
Modbus-protocol-plugin facilitates the connection of Modbus devices, forwarding data to GMQTT for the platform.
- Go to Modbus Protocol Plugin Repository
- Star the repo.
- Download source code.
Configuration
./config.yaml -- Configuration File
config.yaml explanation:
server:
  address: 0.0.0.0:502 # Device onboarding address
mqtt:
  broker: 127.0.0.1:1883 # GMQTT Broker address
  username: root
  password: root
  topic_to_publish: device/attributes # Publish topic
  topic_to_subscribe: plugin/modbus/# # Subscribe topic
  subscribe_pool: 100 # Concurrency pool
http_server:
  address: 0.0.0.0:503 # HTTP service address
thingspanel:
  address: 127.0.0.1:9999 # ThingsPanel Platform Address
Run
$ git clone https://github.com/ThingsPanel/modbus-protocol-plugin.git
$ cd modbus-protocol-plugin
$ go run . start
6. Optional: Visual Editor Installation & Build (Community Edition)
Install Pnpm
npm i -g pnpm
Build Visual Editor from Source
- Download Source Code
git clone https://github.com/ThingsPanel/visual-editor.git
- Install Dependencies
npm install
- Build Dist
pnpm run build
7. Optional: Install Rule Engine
Please refer to the README at https://github.com/ThingsPanel/rule-engine for installation instructions.
8. Install Nginx
yum install nginx
Nginx Configuration
After installation, create tp.conf in /etc/nginx/conf.d. Copy the content below.
Copy the frontend dist files to /usr/share/nginx/html (or modify the root path in config).
Copy the visual editor dist files to /usr/share/nginx/visual-editor/dist.
Note: Modify configuration to match your environment.
server {
    listen 8080;
    server_name 192.168.1.1 ; # Public IP, LAN IP, or Domain
    charset utf-8;
    client_max_body_size 10m;
    root /home/dev/dist;

    gzip on;
    gzip_min_length 1k;
    gzip_comp_level 6;
    gzip_types text/plain application/javascript application/x-javascript text/css application/xml text/javascript application/x-httpd-php image/jpeg image/gif image/png;
    gzip_vary on;
    gzip_disable "MSIE [1-6]\.";

    location /api {
        proxy_http_version 1.1;
        proxy_set_header Upgrade $http_upgrade;
        proxy_set_header Connection "upgrade";
        proxy_set_header X-real-ip $remote_addr;
        proxy_set_header X-Forwarded-For $remote_addr;
        proxy_pass  http://127.0.0.1:9999;
    }
    location /ws {
        proxy_http_version 1.1;
        proxy_set_header Upgrade $http_upgrade;
        proxy_set_header Connection "upgrade";
        proxy_set_header X-real-ip $remote_addr;
        proxy_set_header X-Forwarded-For $remote_addr;
        proxy_pass  http://127.0.0.1:9999;
    }
    location /files {
        proxy_http_version 1.1;
        proxy_set_header Upgrade $http_upgrade;
        proxy_set_header Connection "upgrade";
        proxy_set_header X-real-ip $remote_addr;
        proxy_set_header X-Forwarded-For $remote_addr;
        proxy_pass  http://127.0.0.1:9999;

        add_header 'Access-Control-Allow-Origin' '*';
        add_header 'Access-Control-Allow-Credentials' 'true';
        add_header 'Access-Control-Allow-Methods' 'GET, POST, OPTIONS';
        add_header 'Access-Control-Allow-Headers' 'DNT,User-Agent,X-Requested-With,If-Modified-Since,Cache-Control,Content-Type,Range';
        add_header 'Access-Control-Expose-Headers' 'Content-Length,Content-Range';
    }

    # Visualization Editor
    location /visual {
        alias /home/visual-editor/dist;
        index index.html index.htm;
        try_files $uri $uri/ /visual/index.html;
    }

    location / {
        index index.html index.htm;
        try_files $uri $uri/ /index.html;
    }
}
Restart Nginx
nginx -t
nginx -s reload
9. Installation Complete
- Login
- Open browser: ServerIP:8080
- System Admin: super@super.cn / 123456
- Tenant Admin: tenant@tenant.cn / 123456
If you need help, please contact us. QQ Group: 371794256
For more info, check the README in the Code Repository.